3DPRINTYOURLIFE
Resources
Discord community is where I got all of my questions answered and is a wealth of information on all things VORON!
The official sourcing guide is often updated, it is imperative to check here often while build your own Bill of Materials.
The official assembly manual is what I will be following and referring to as closely as possible during this build log.
| Row Labels | Sum of Total cost |
|---|---|
| Buildplate | $213.73 |
Cables & Wires | $216.23 |
| Electronics | $530.41 |
| Fasteners | $245.49 |
Misumi Frame | $189.15 |
Misc. | $58.04 |
| Motion | $269.50 |
| Panels | $142.57 |
| Tools | $103.07 |
Extra Hotend (Dragon) | $130.93 |
| Hot End | $69.50 |
Printed Parts | $115.00 |
Grand Total | $2283.62 |
Pre-Work
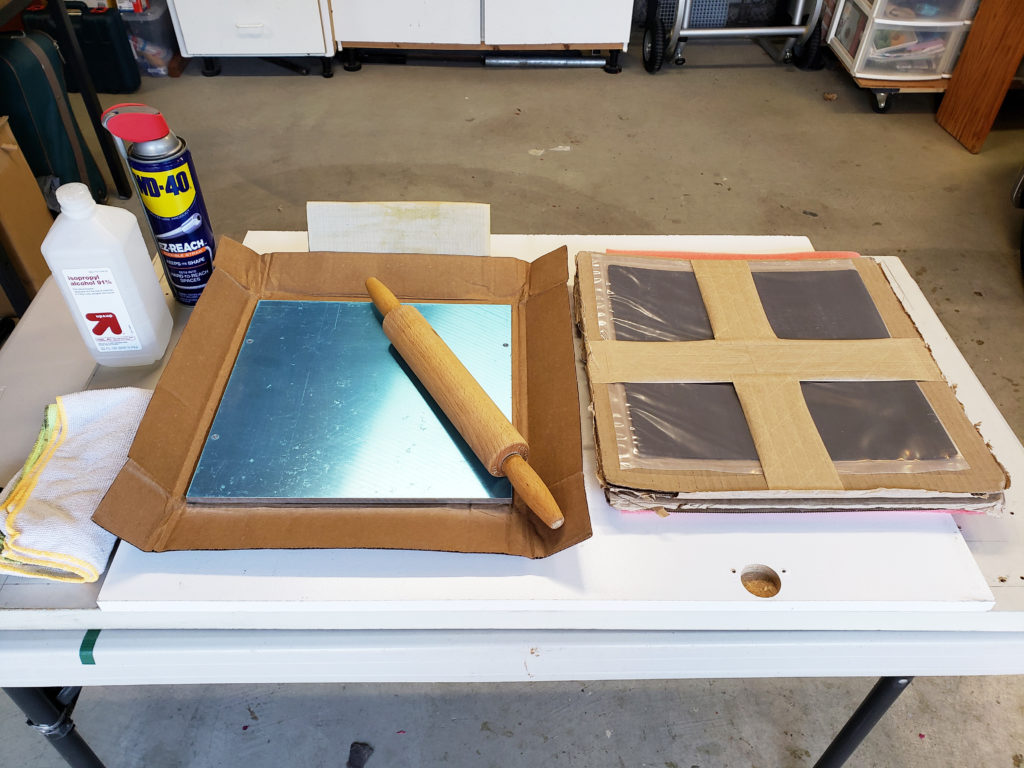
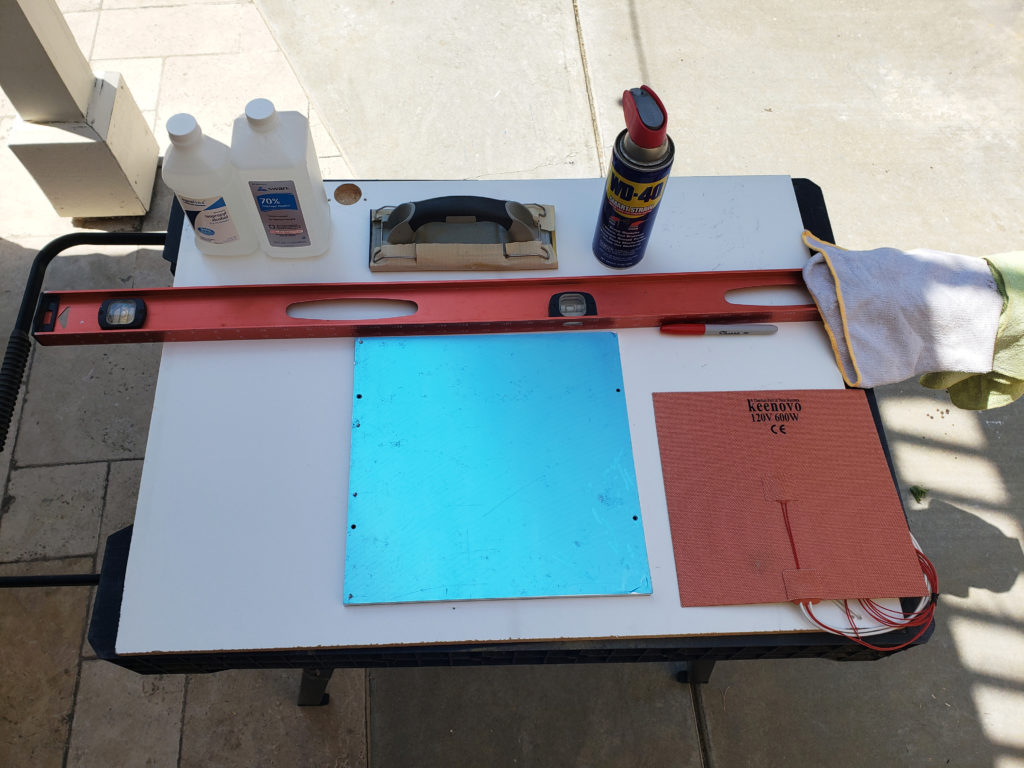
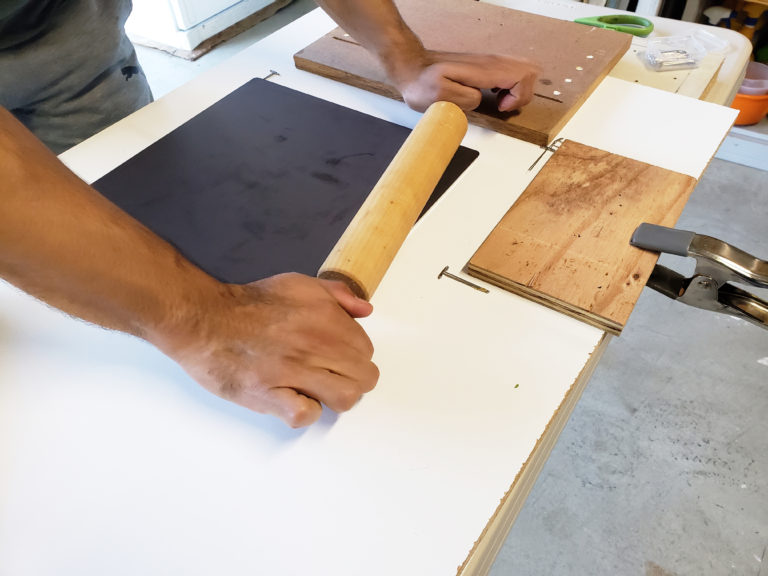
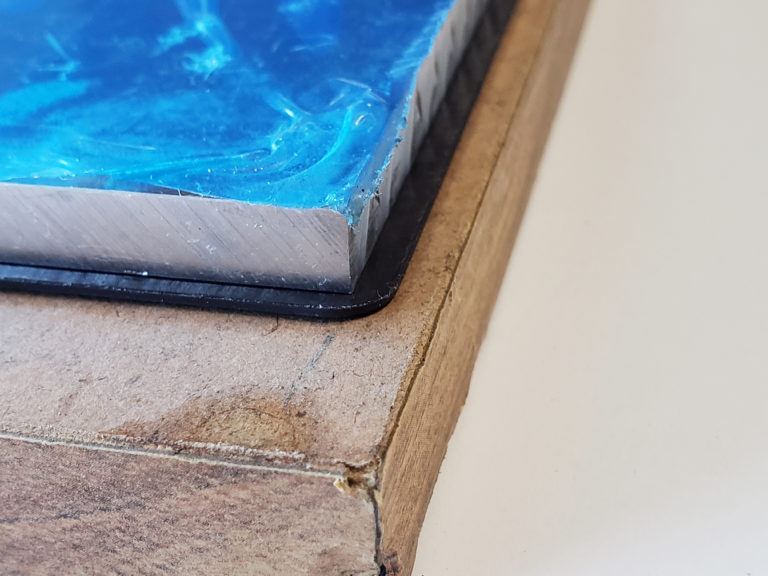
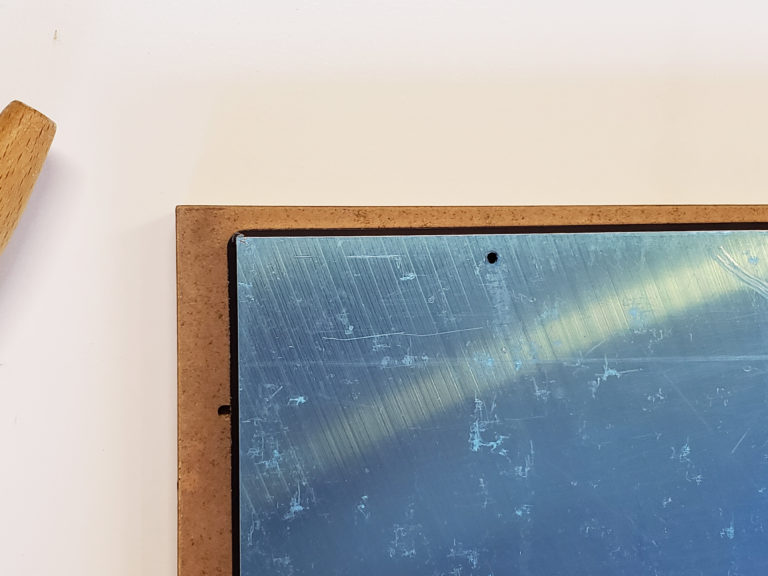
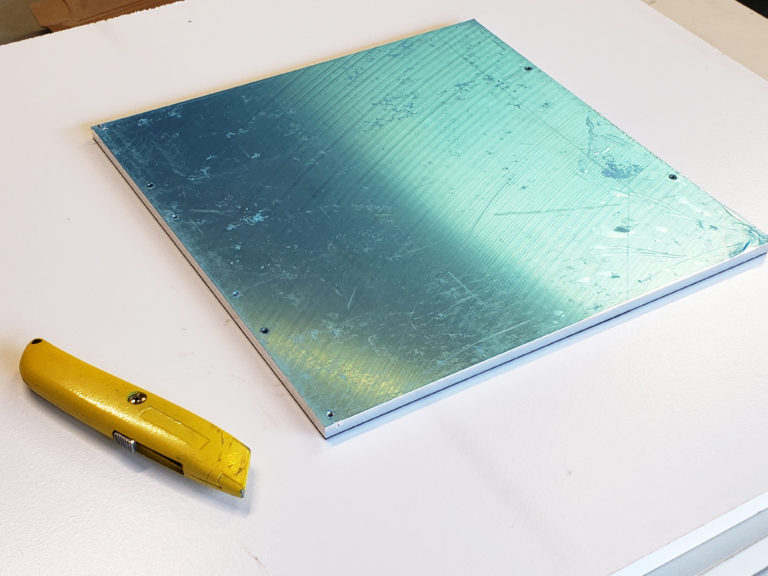
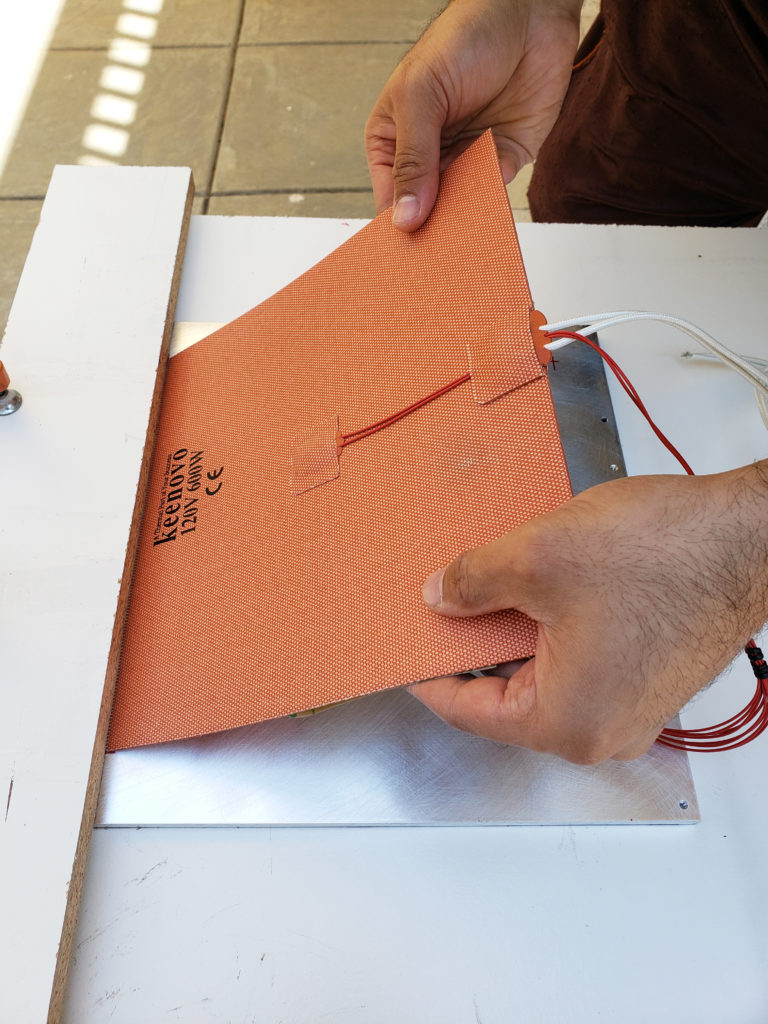
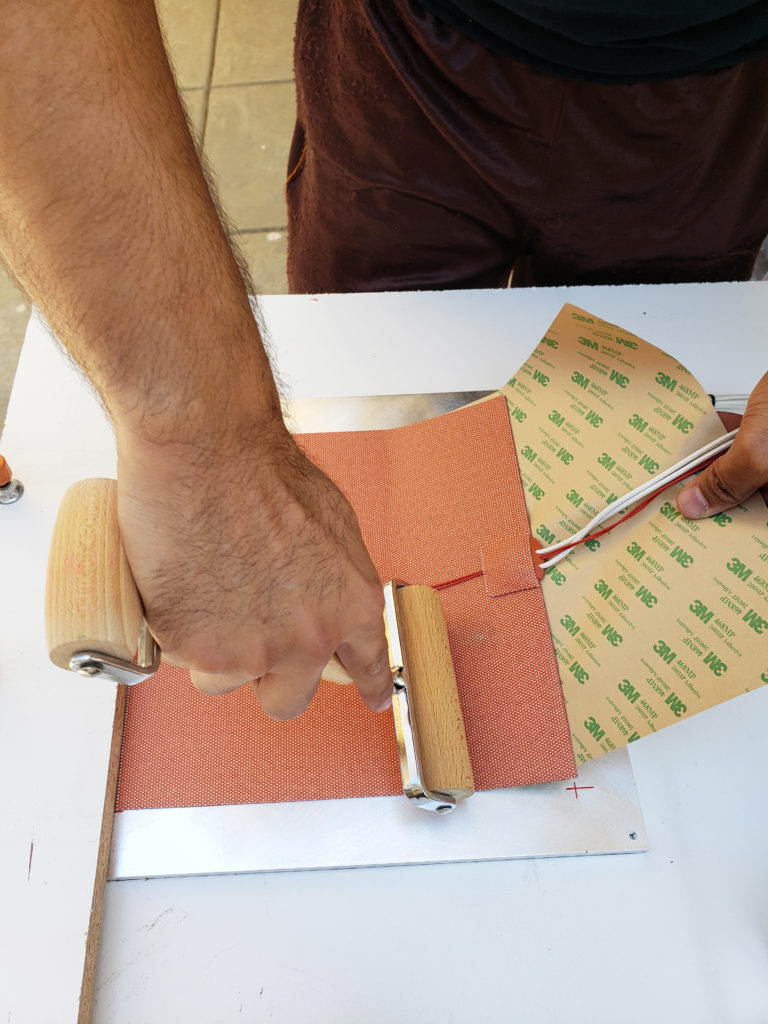
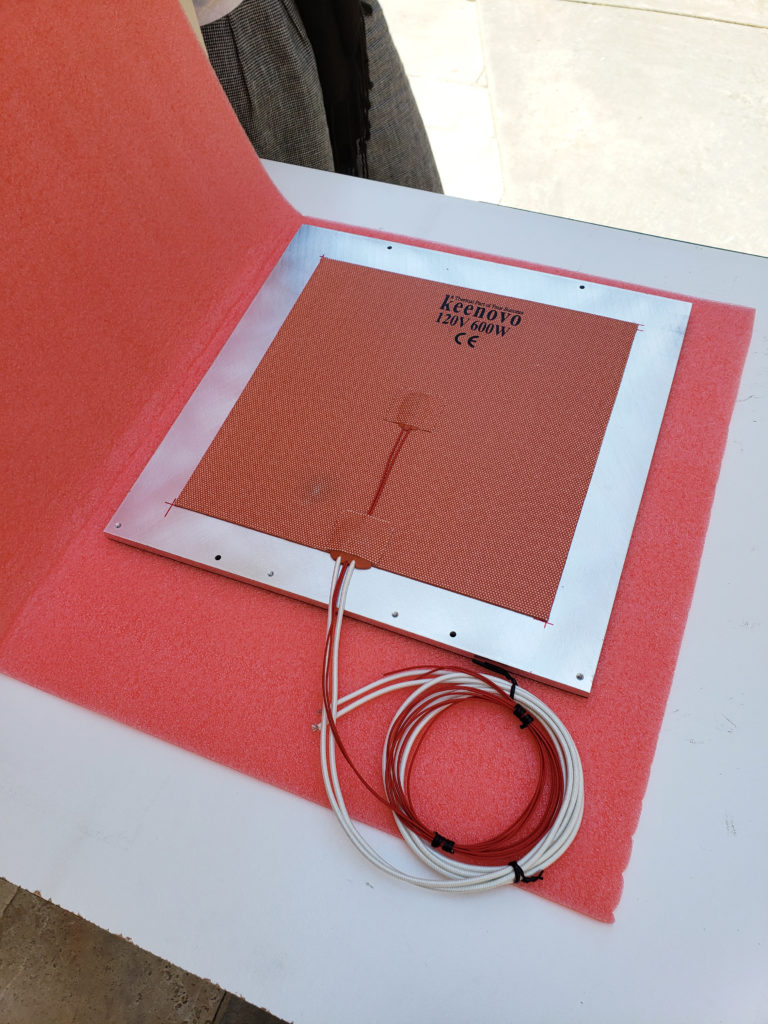
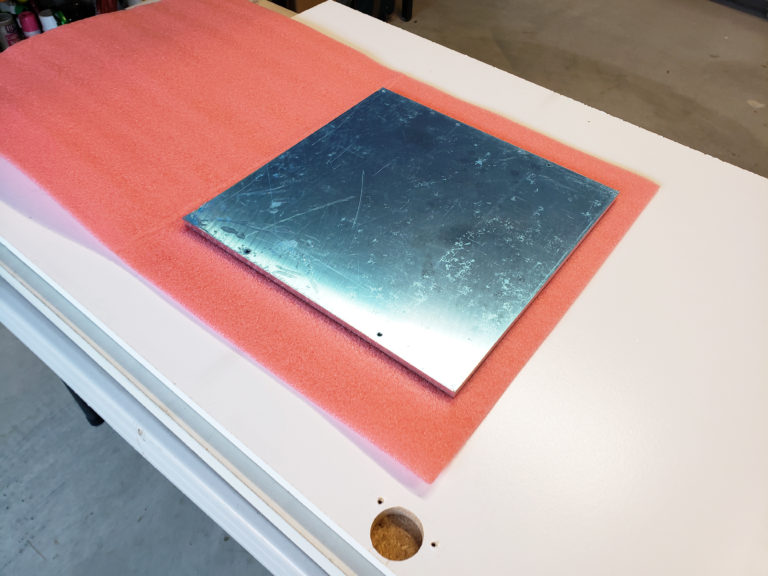
Aluminum Bed Magnet and Heater install
Supplies Used:
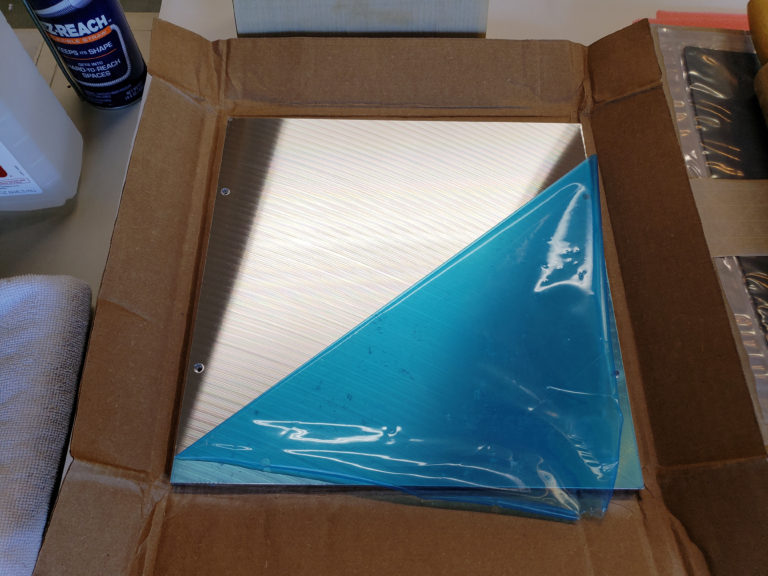
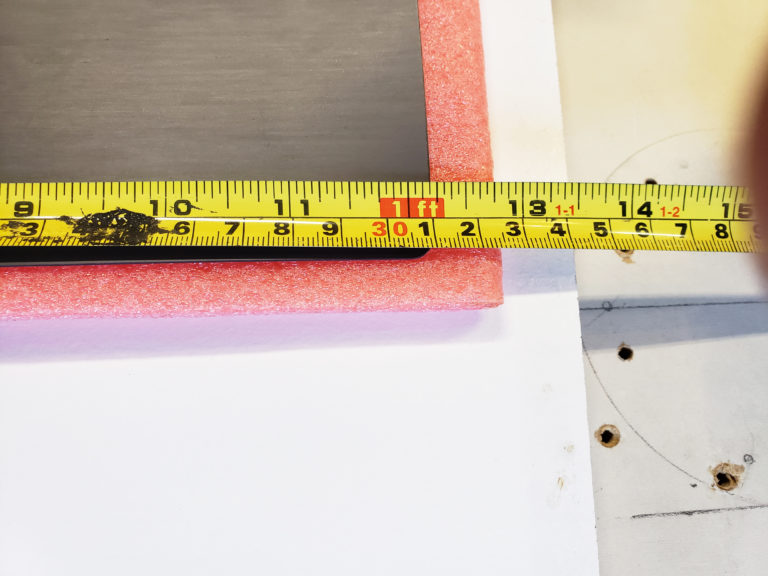
- 5/16″ 300x300mm ATP5 aluminum plate
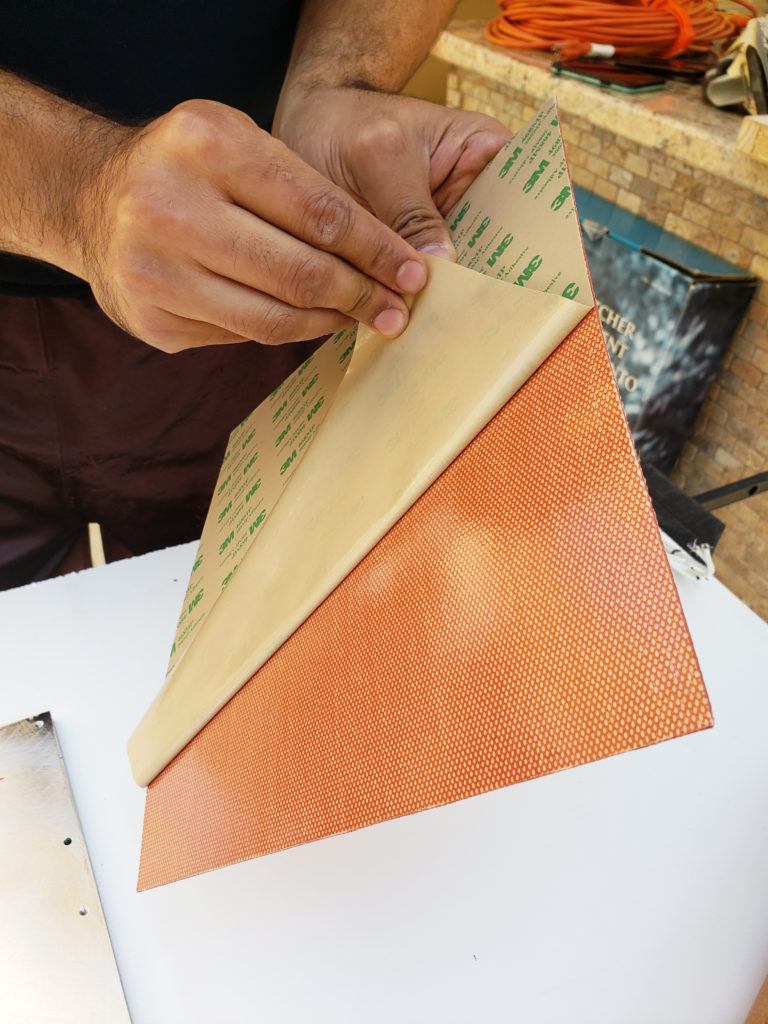
- StayMag 305×305 high temperature magnet (with 3M tape)
- Keenovo 240x240mm 700W heater
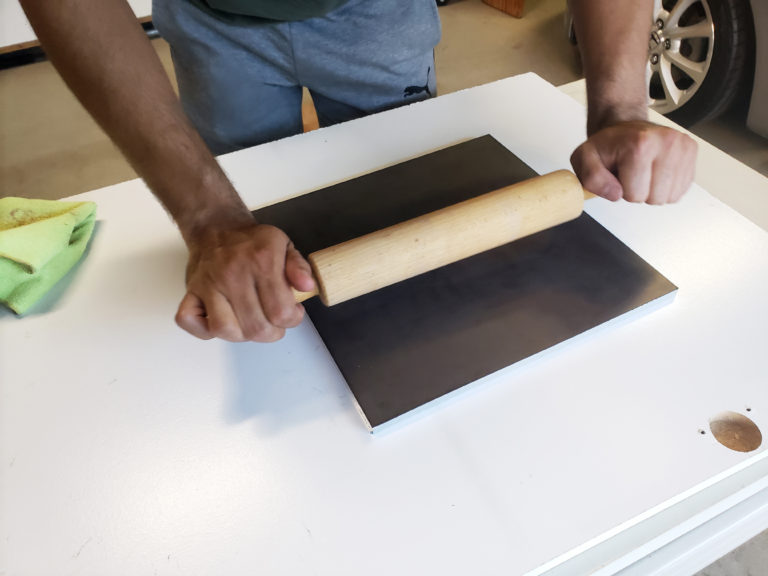
- Rolling pin
- 400 grit sand paper
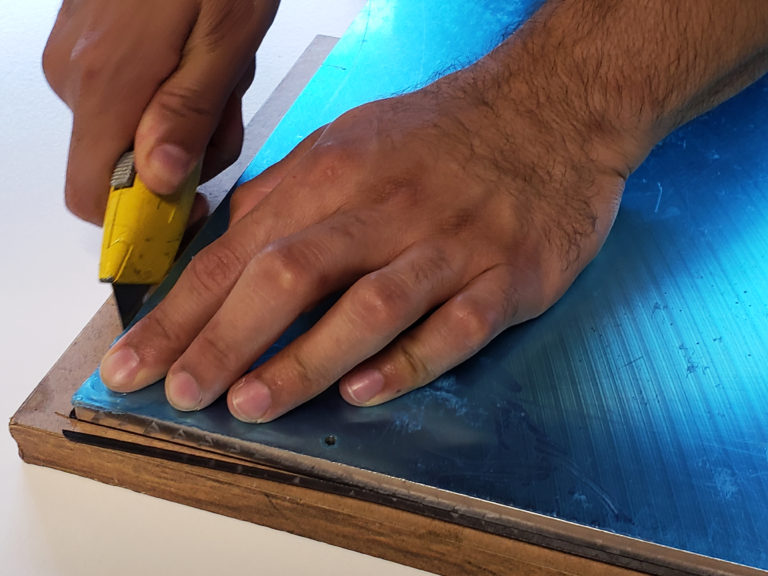
- Box cutter
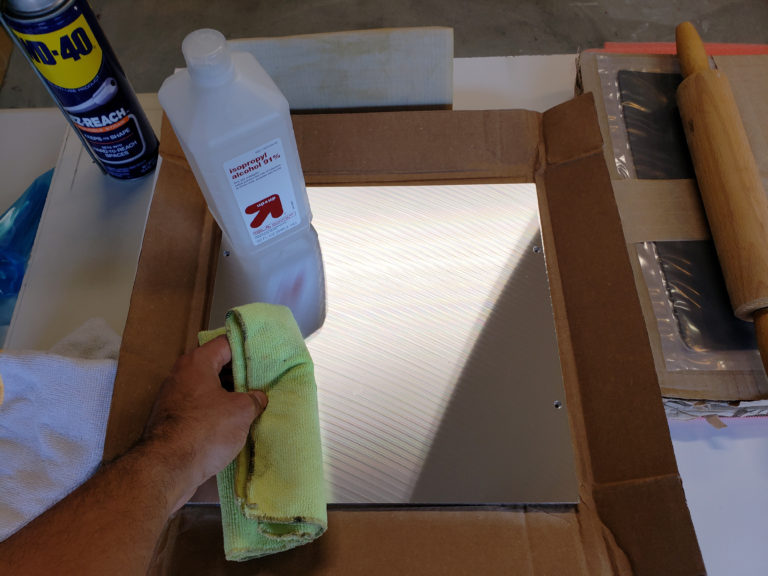
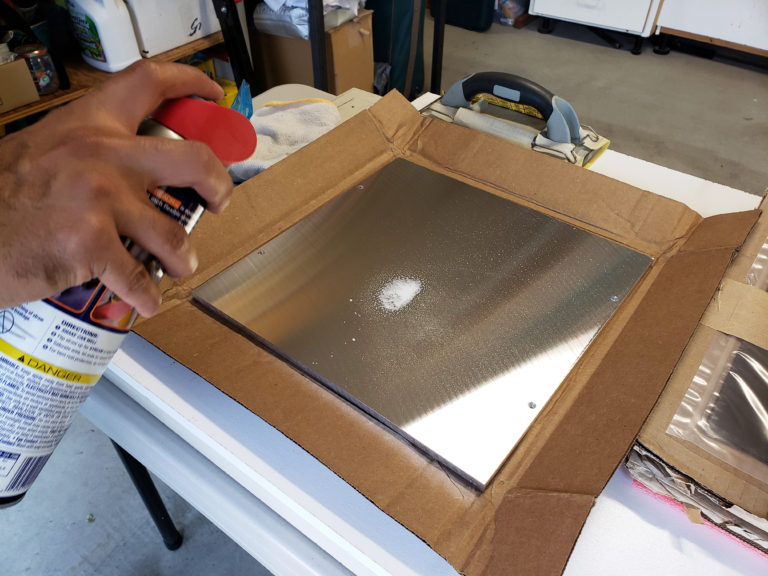
- WD40
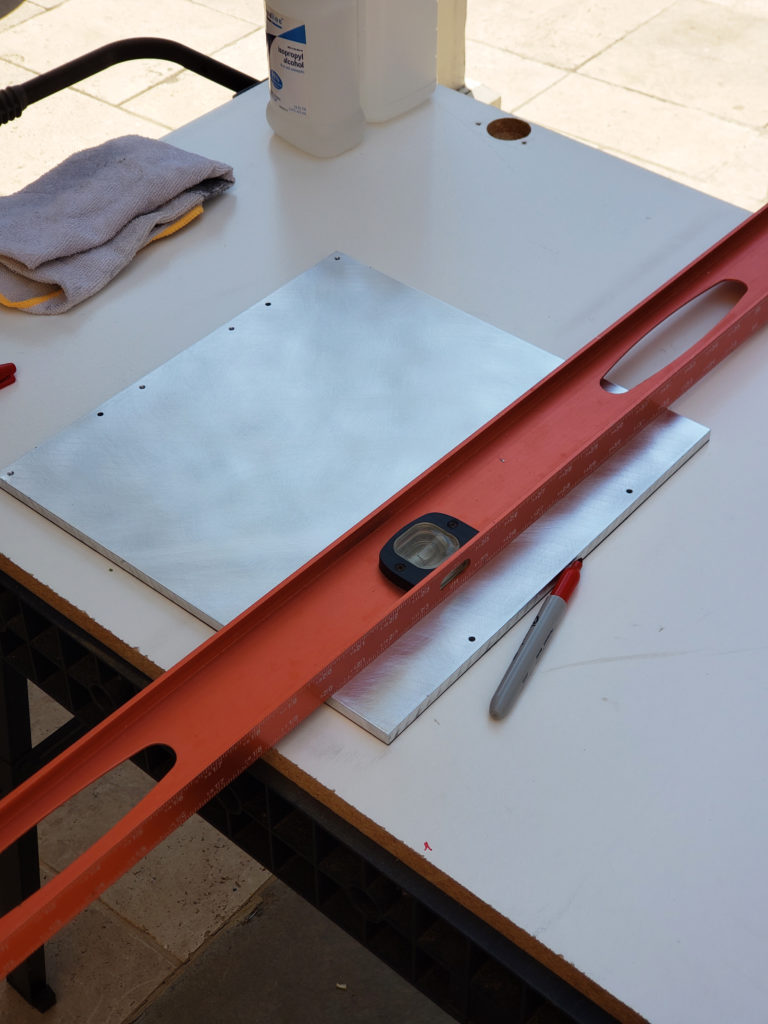
- 91% IPA (isopropyl alcohol)
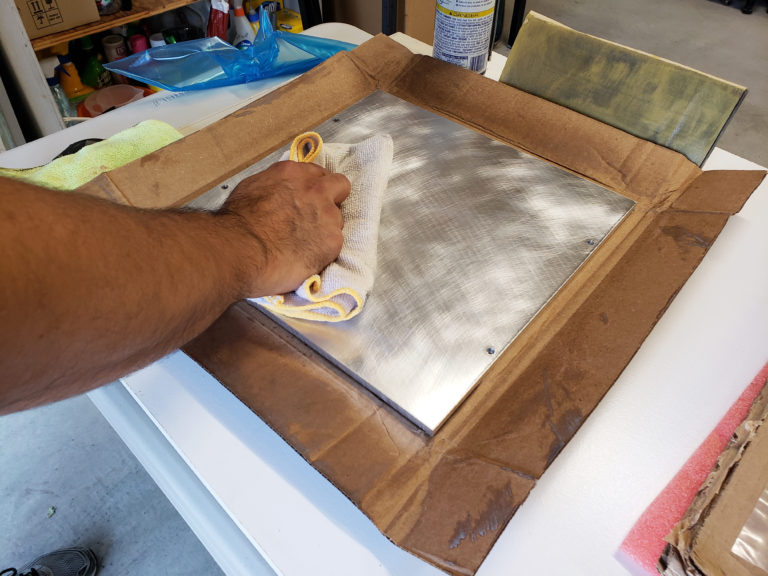
- Microfiber cloth
- Foam pad & weights
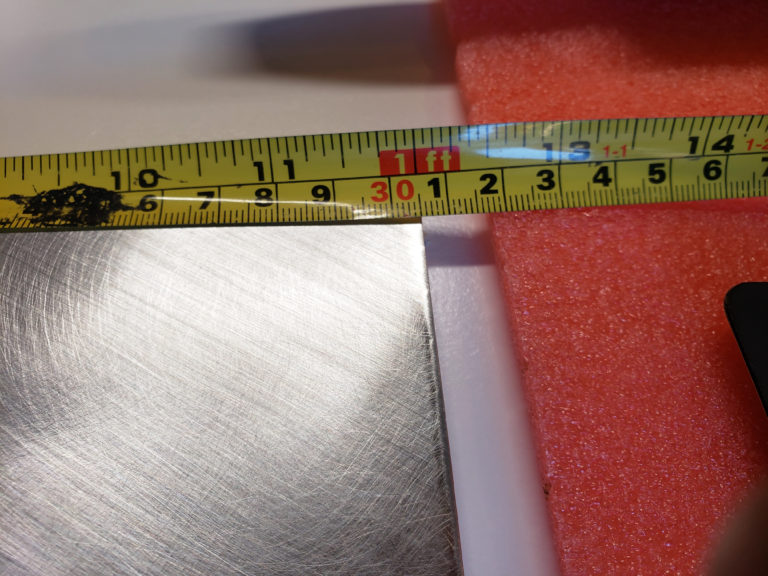
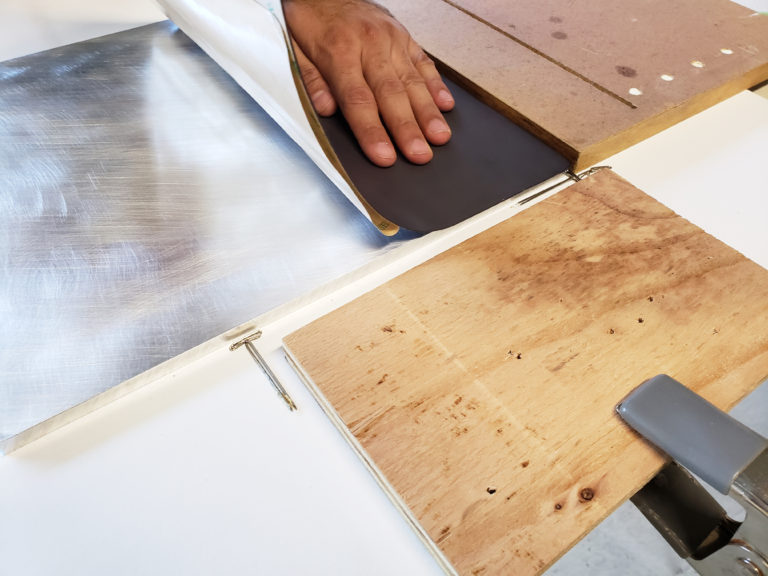
- scrap wood for alignment
Steps:
- Gently sand surface of Aluminum plate (use WD-40 to wet sand)
- Clean and position aluminum bed
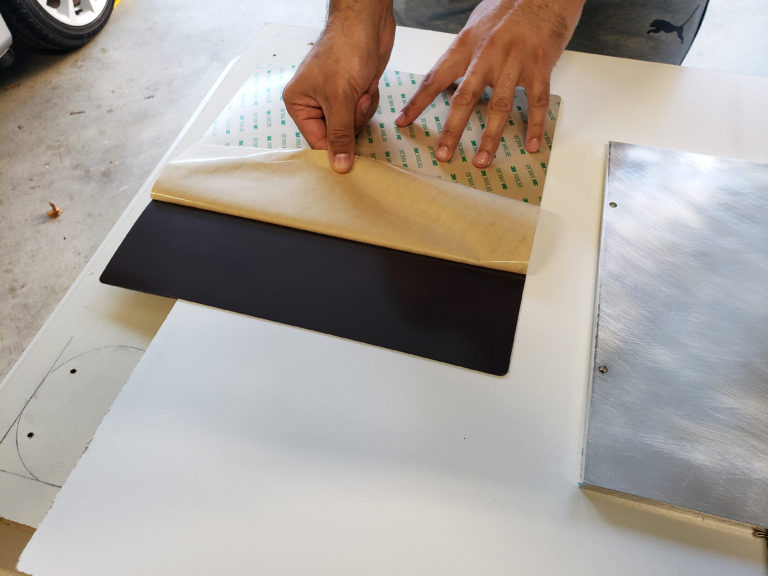
- remove 3M tape and carefully place magnet applying gentle pressure
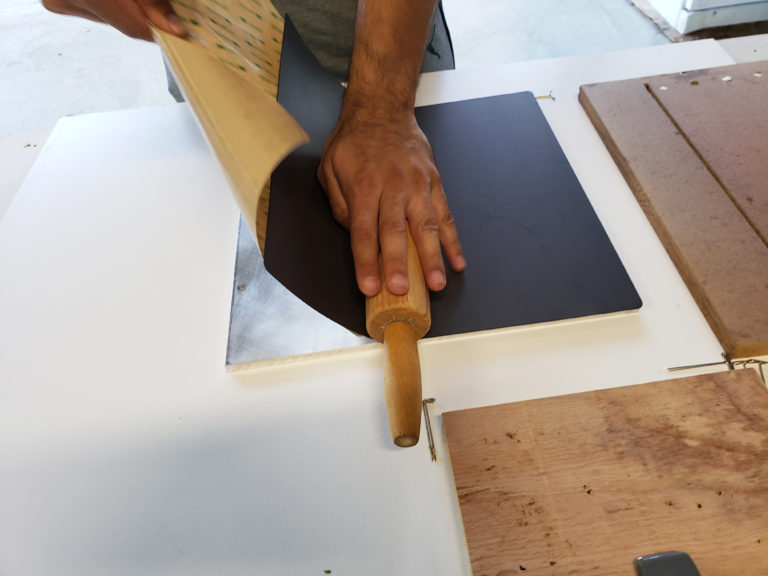
- Use rolling pin to press down firmly on magnet from edge to edge
- Cut away excess magnet
- Repeat above steps 1-4 for Keenovo heater on the other side – avoid pressing down on thermistor
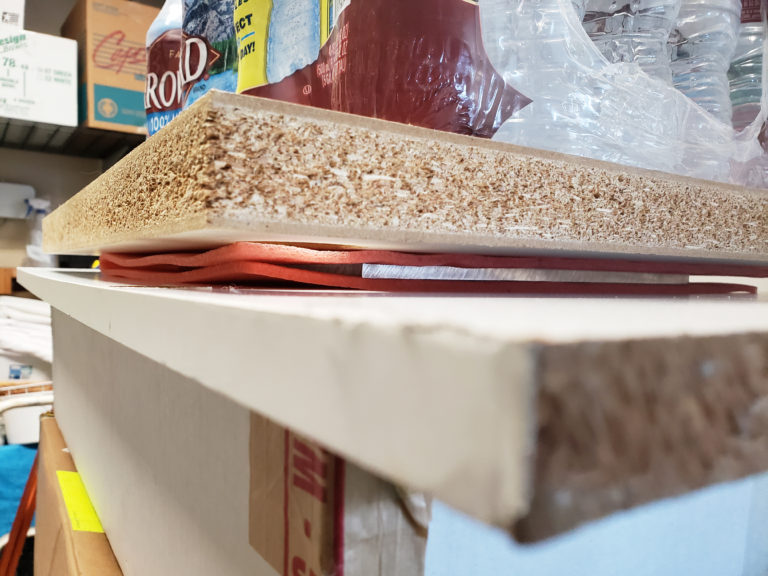
- Place aluminum bed between thin foam
- Sandwich bed between two flat surfaces and apply 50 lb of weight for 24 hours
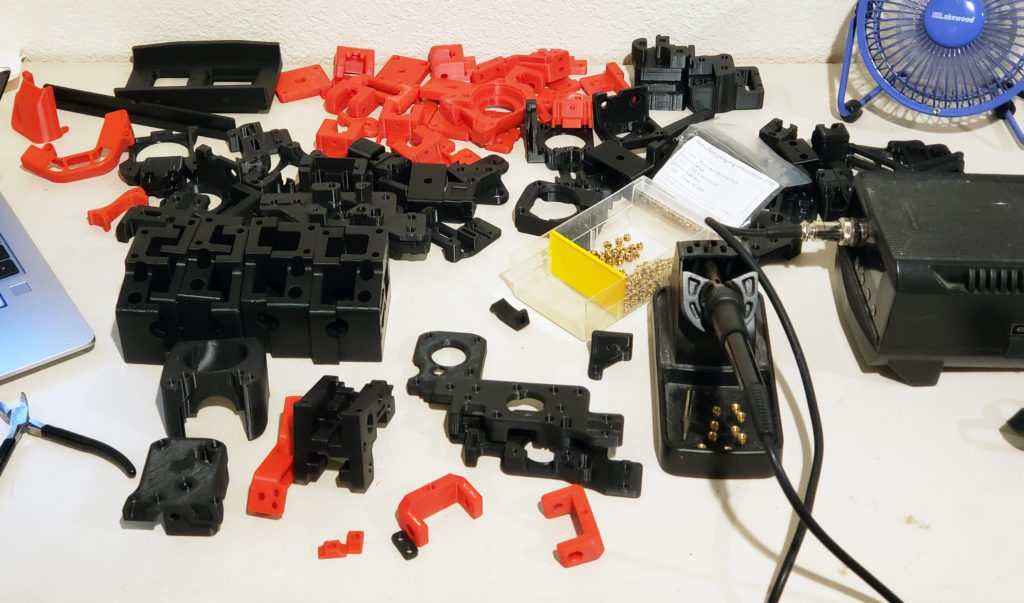
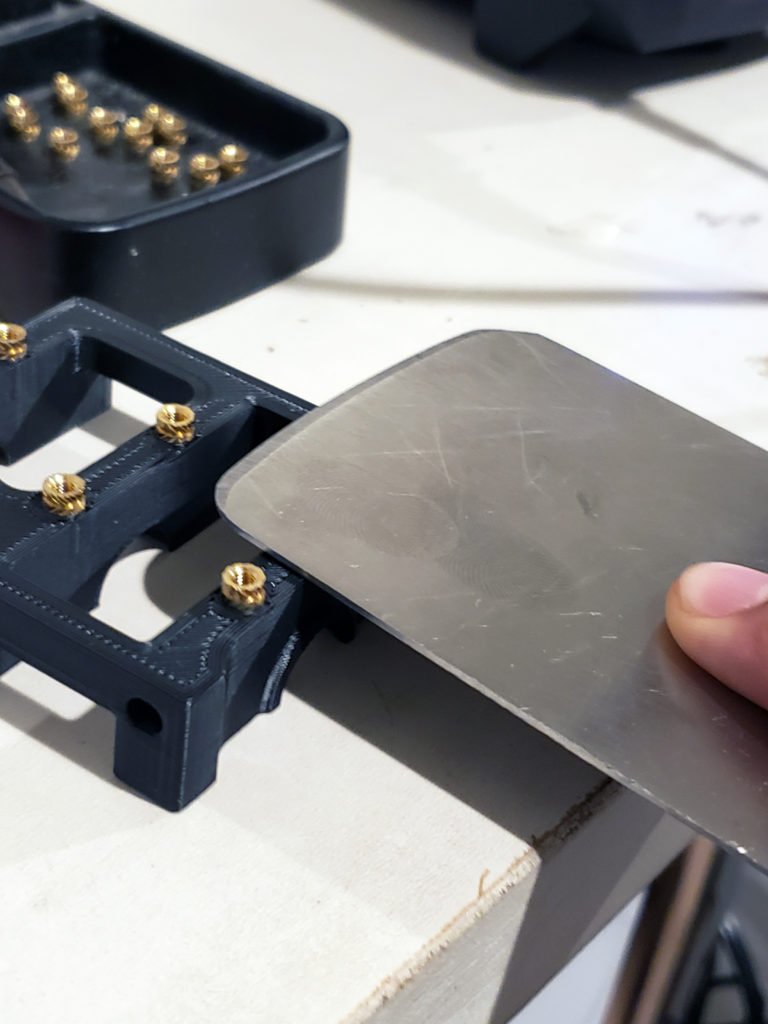
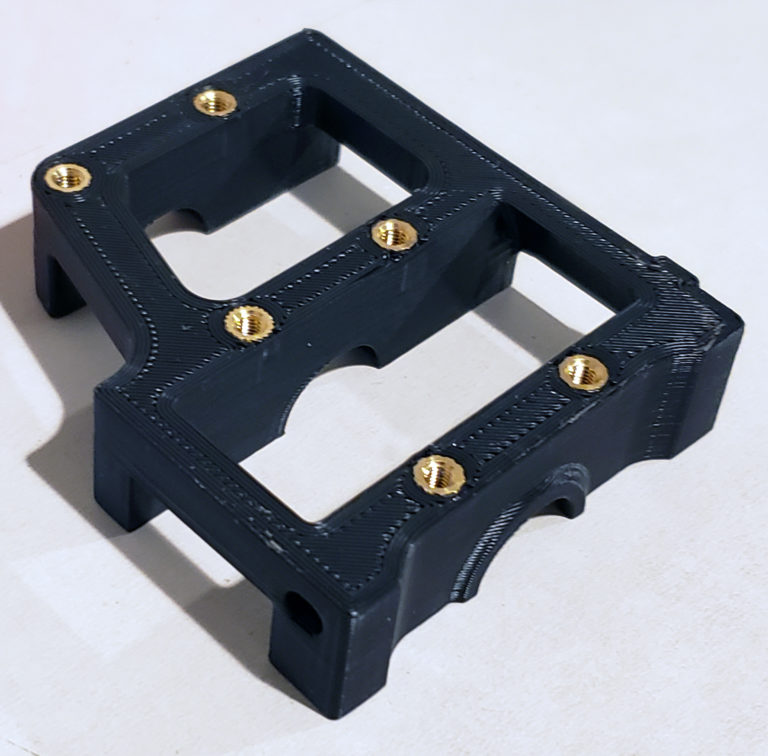
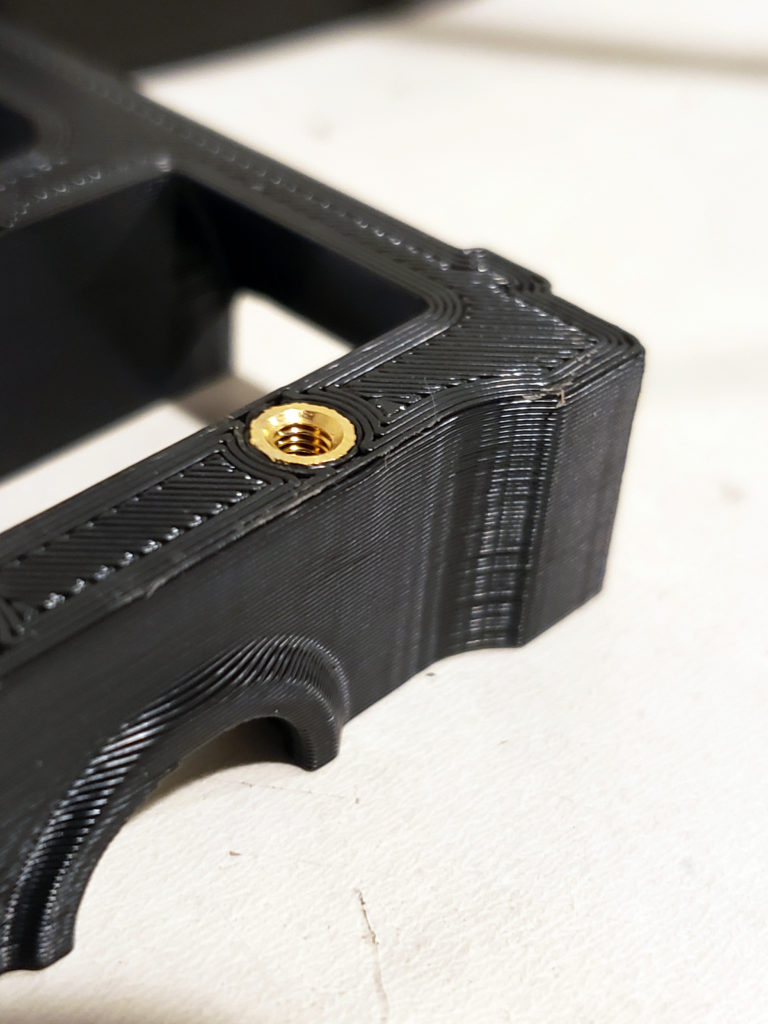
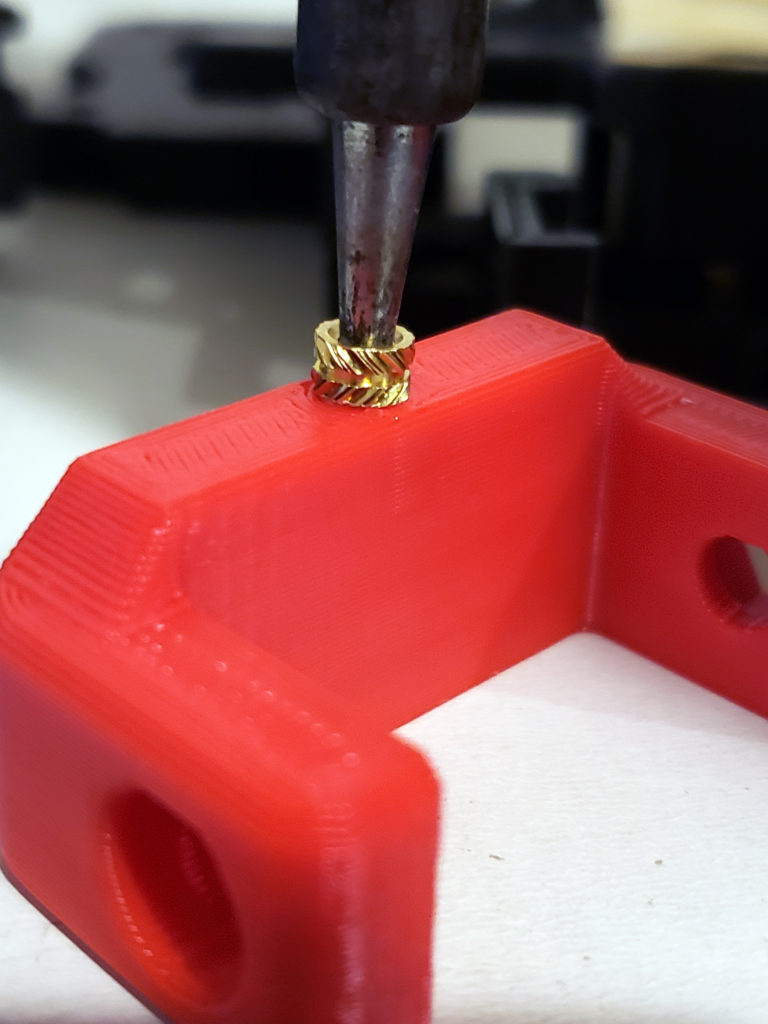
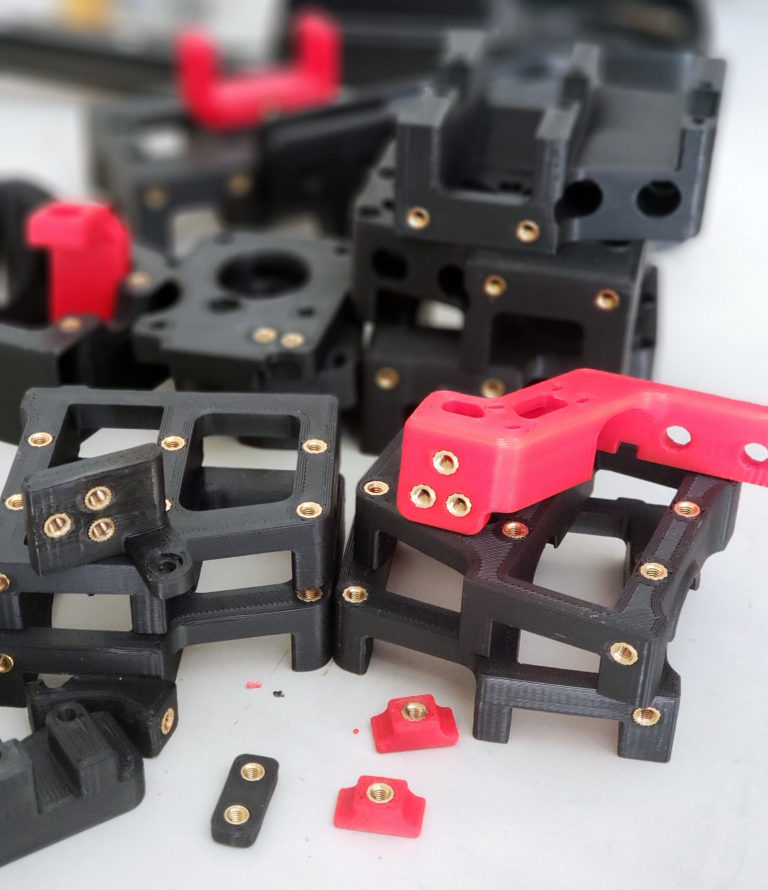
Heat Set Insert Installation
Supplies Used:
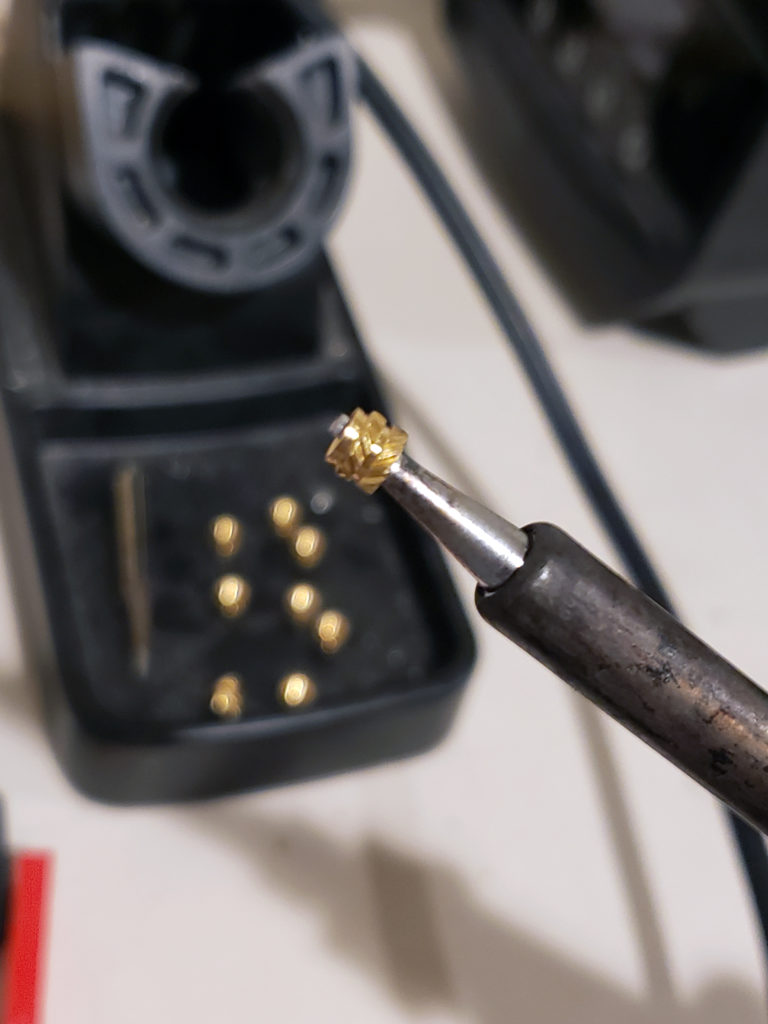
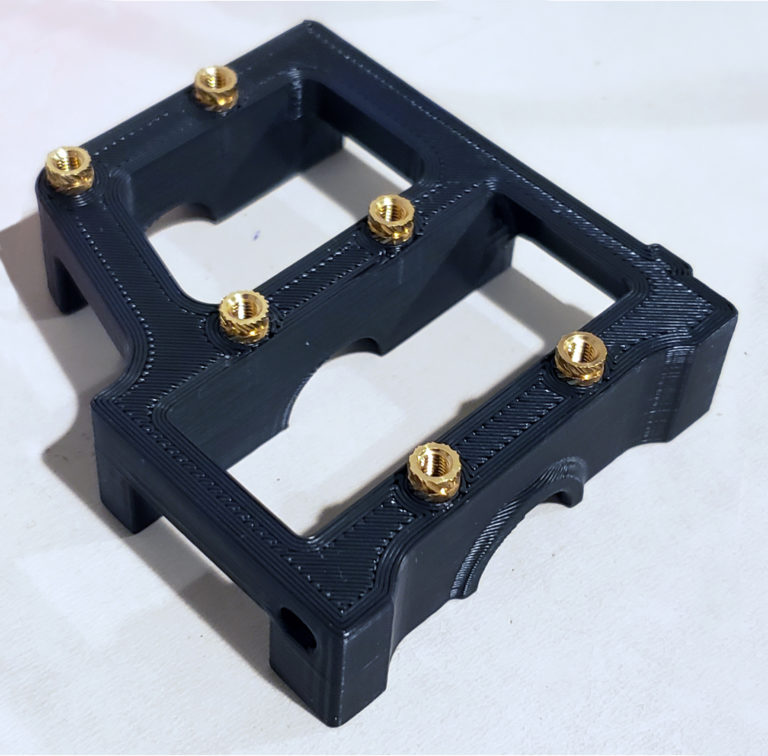
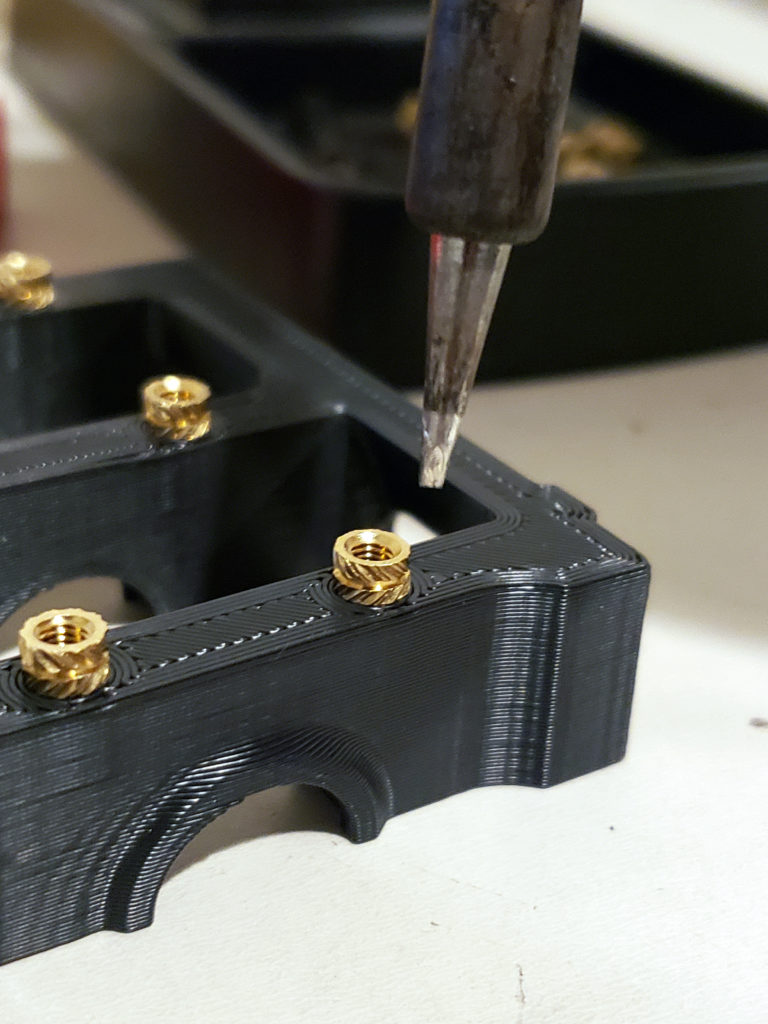
- 90 M3x5x4 threaded heat set inserts
- Soldering station (set to 200*C)
- Flat surface
- Pliers
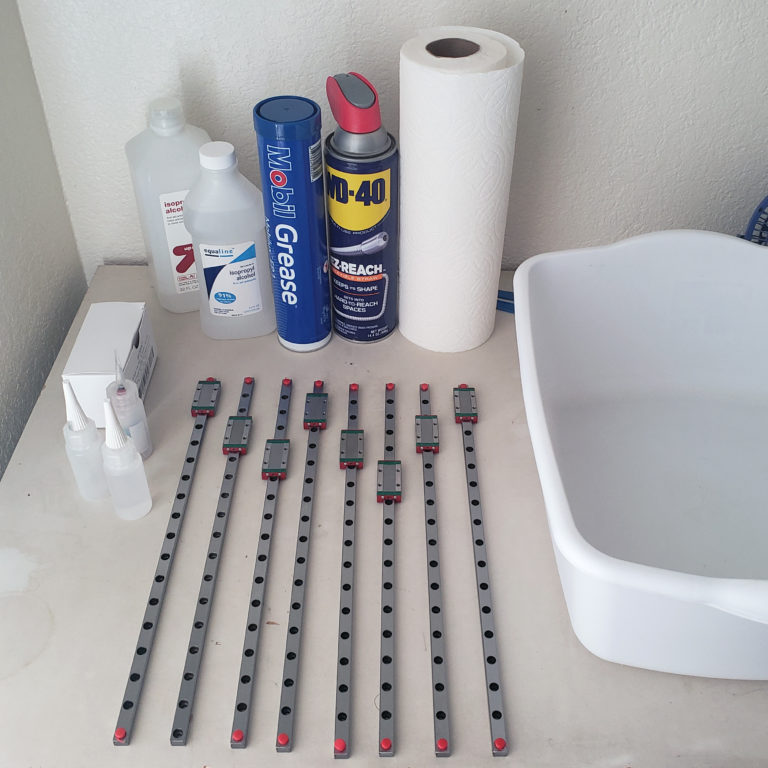
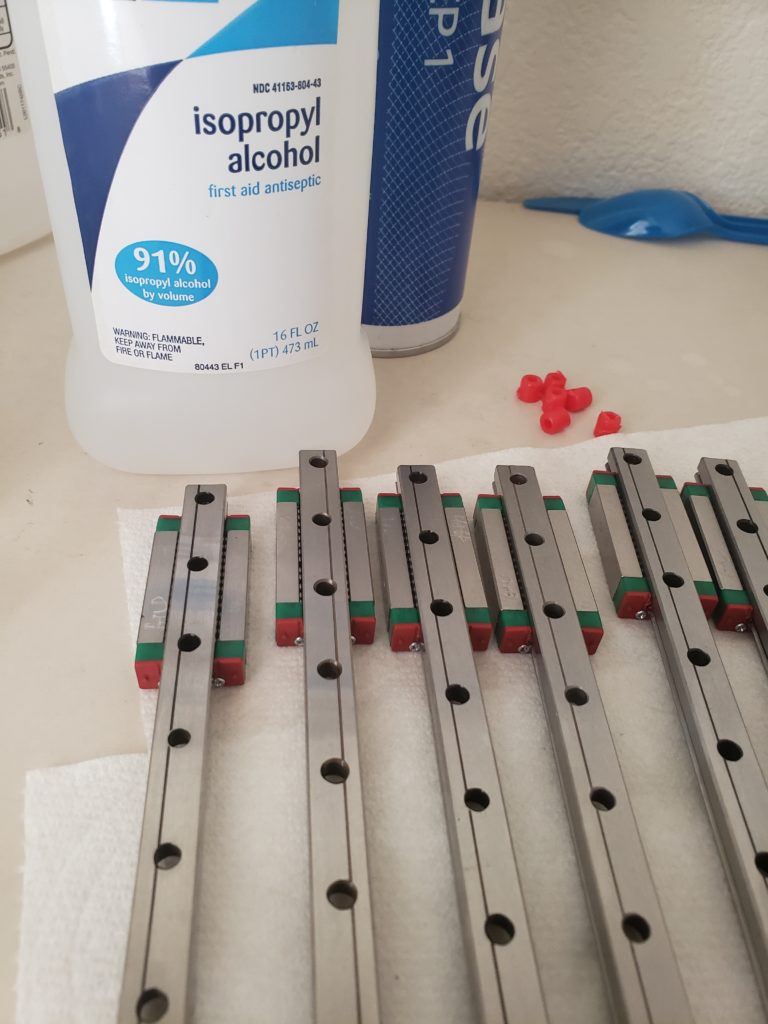
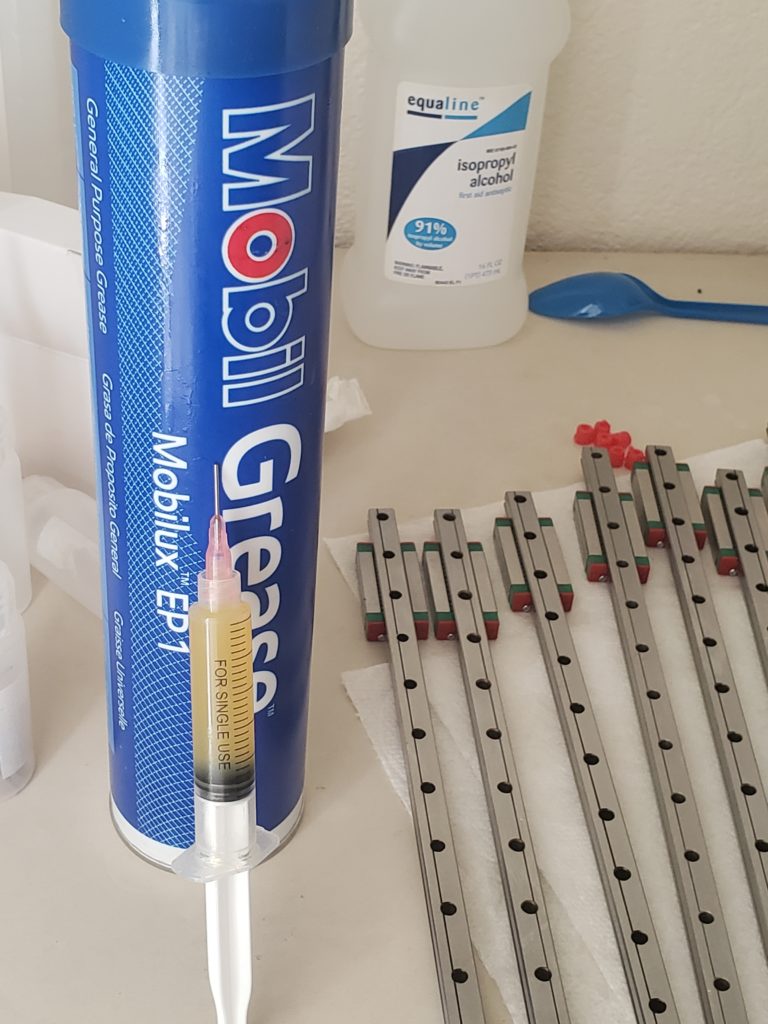
Linear Rail Clean and Regrease
Supplies Used:
- Mobil1 EP1 lithium Grease
- 91% Isopropyl Alcohol
- Blunt nose Syringe
- lots of paper towels
- Gloves
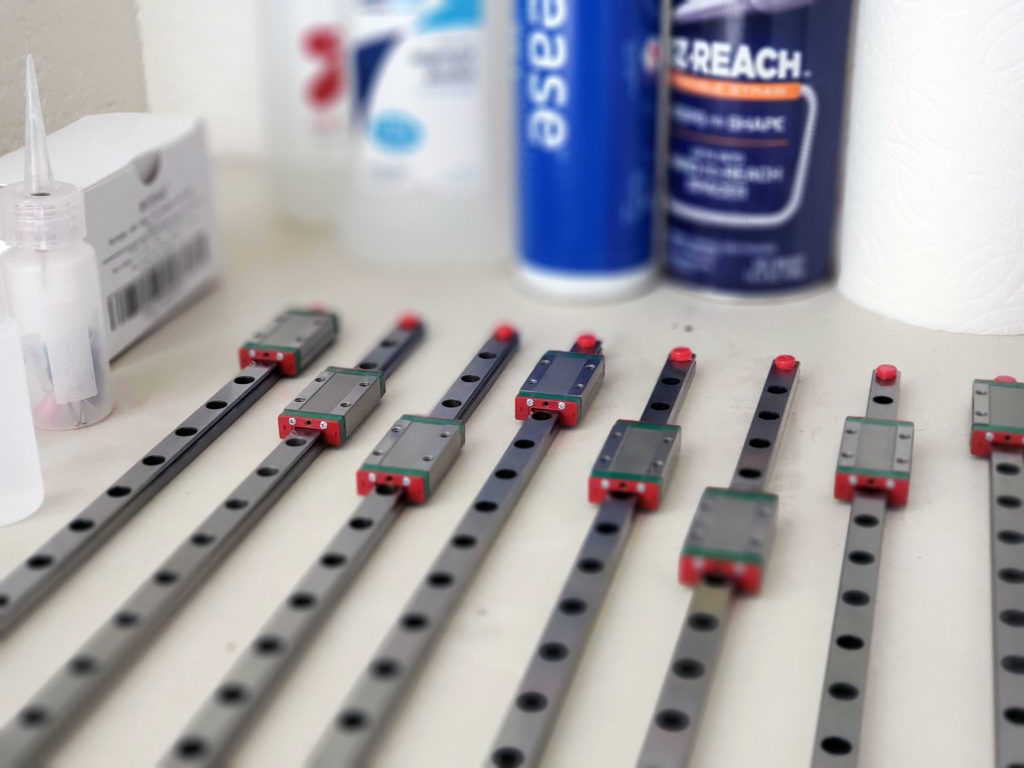
Steps:
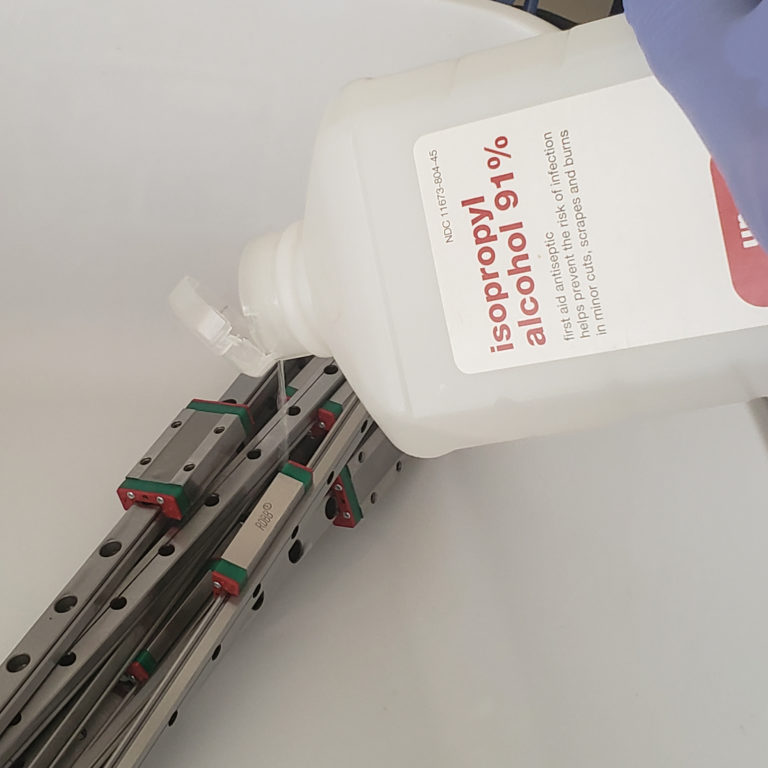
- Wash out factory oils using WD-40 – move rails back and forth, rinse, and repeat.
- Thoughly wash out WD-40 using IPA
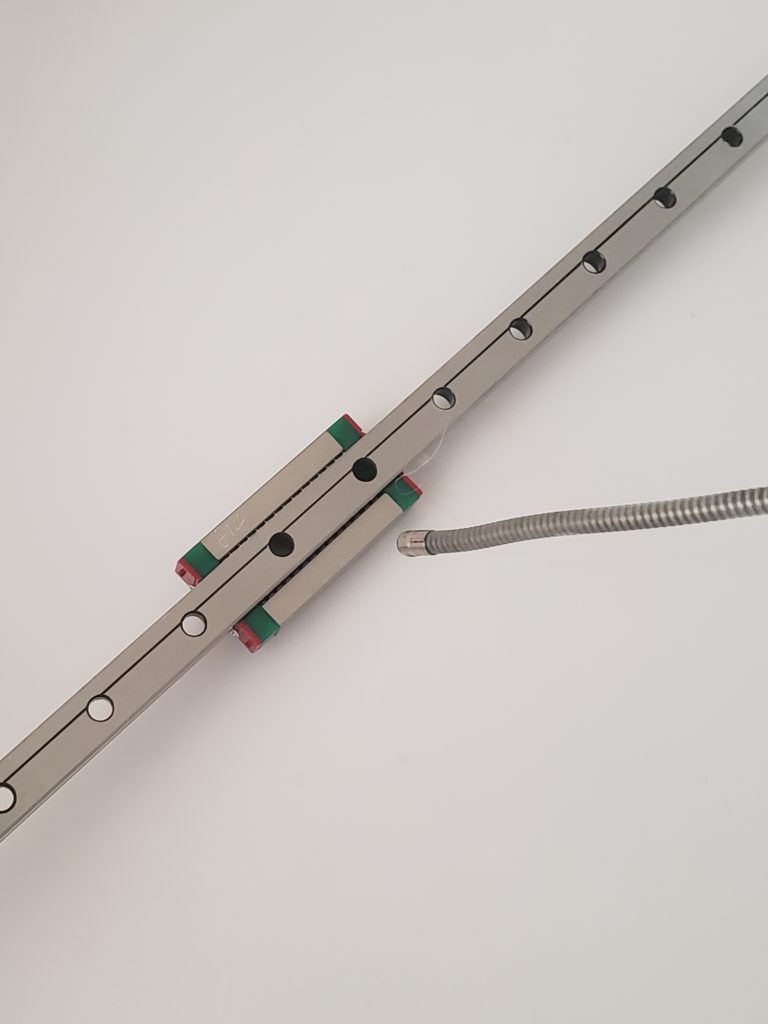
- Load Syringe with EP1 grease
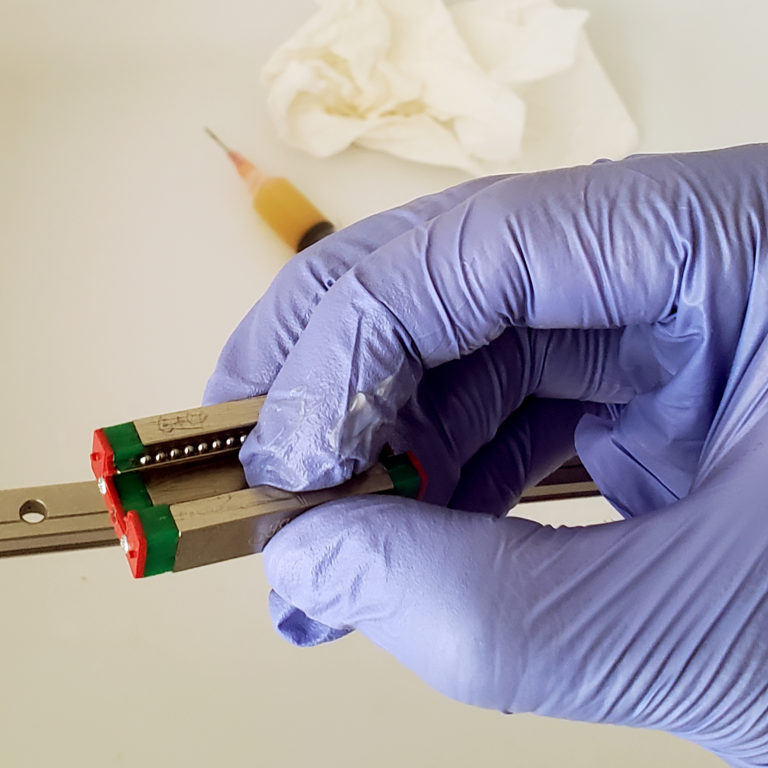
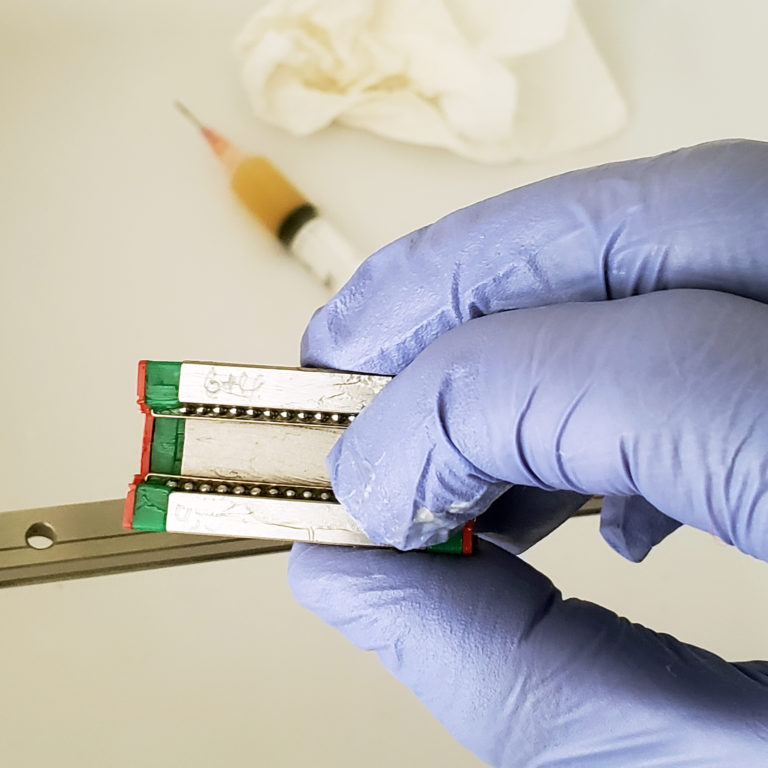
- Dispense grease into carriage, removing carriage and gently pressing grease in between bearings.
- Slide carriage on rails until smooth – apply more grease if necessary
- Wipe clean all excess grease.
Build Steps
Place holder
Come back later…. WIP

